Major Project: Finished Animation

This post is a bit late coming but hey, better late than never. I had hoped to do more regular updates during the course of this project but just as I thought, my blog got somewhat abandoned in the madness of third year!

So after several weeks of intense work in the lead up to the Major Project deadline, everything finally came together and the final thing was produced! Take a look..

Plenty of things happened between my last post (where I discussed the robot’s character design) and the production of the final thing, so I’ll touch on some of the key things that happened along the way. If you’d rather skip the waffle and just see my contribution to the project, here’s my breakdown reel:

After completing the final design of the robot, I handed it to our Character Modeller so he could get the modelling under way; in the meantime I had some other design work to do. Firstly the design of the cabin; it would only be seen for a very short time so for this reason I didn’t spend too long on it, but we wanted ensure it was given an in-keeping steampunk twist and looked sufficiently worn and battered to reflect the desolate, arctic environment in which it sat. In retrospect, my concept was far too clean and new looking, so when it came to texturing I made a conscious effort to dirty it up. Also, we had initially hoped to have a shot of the old man’s gloved hand placing the fuse into the robot’s chest at the start of the animation, hence the glove designs below, but sadly this was cut so we could focus our efforts on more important things and achieving an overall more polished finish.

cabin_design_dirtied
Cabin concept

cabin-in-the-woods422191_10152445922580501_652007875_n

Once the robot model was finished it was handed to me for UV mapping. Before starting this I wanted to give the mesh a once over to check for anything that would cause problems later on with texturing – I’m glad I did! No disrespect to the modeller, he did a great job, but I found a few pesky random vertices and accidental extrusions, so I spent a little while cleaning up the mesh. It was important that edge loops were evenly spread and polygon size was consistent across the model so that when it came sculpting in Mudbox, something that would be key in creating the battered, crude look, the mesh would subdivide nice and evenly. The actual UV mapping went pretty smoothly – I don’t know what it is about UV mapping but I quite enjoy it, it seems like the kind of thing that would be mind-numbingly boring. I think it’s cause it satisfies my perfectionist/mild OCD tendencies. 😛 I did each section manually using planar or cylindrical mapping where appropriate, sized the individual UV shells relative to their scale in the model, and laid them out as efficiently as I could to make use of as much of the texture map area as possible.

robotheadUVS
Head UVs
robotchestUVS
Chest UVs

My next job was sculpting and texturing, something I’d been looking forward to! After a couple rough tests and feedback from the group, we decided on a rusty, bronze colour for the robot, complete with thick, messy welds, which we thought would make him stand out nicely against the snowy environment. I started by bashing him up with sculpting; after giving him a few substantial dents and an all over dimpled, imperfect texture, I went on to painstakingly sculpt every gnarly, bobbly weld seam, which I think created a really nice effect, but I do wonder if it was worth it considering how much they are seen in the animation. I guess it was for the really close up shots which do show them off very nicely! I can’t help but think there would have been a quicker way of doing it though.

chestguide
Sculpting and texturing in Mudbox

head_jaw_DIFF     chest_door_handle_DIFF

robot
Final robot sculpt and textures

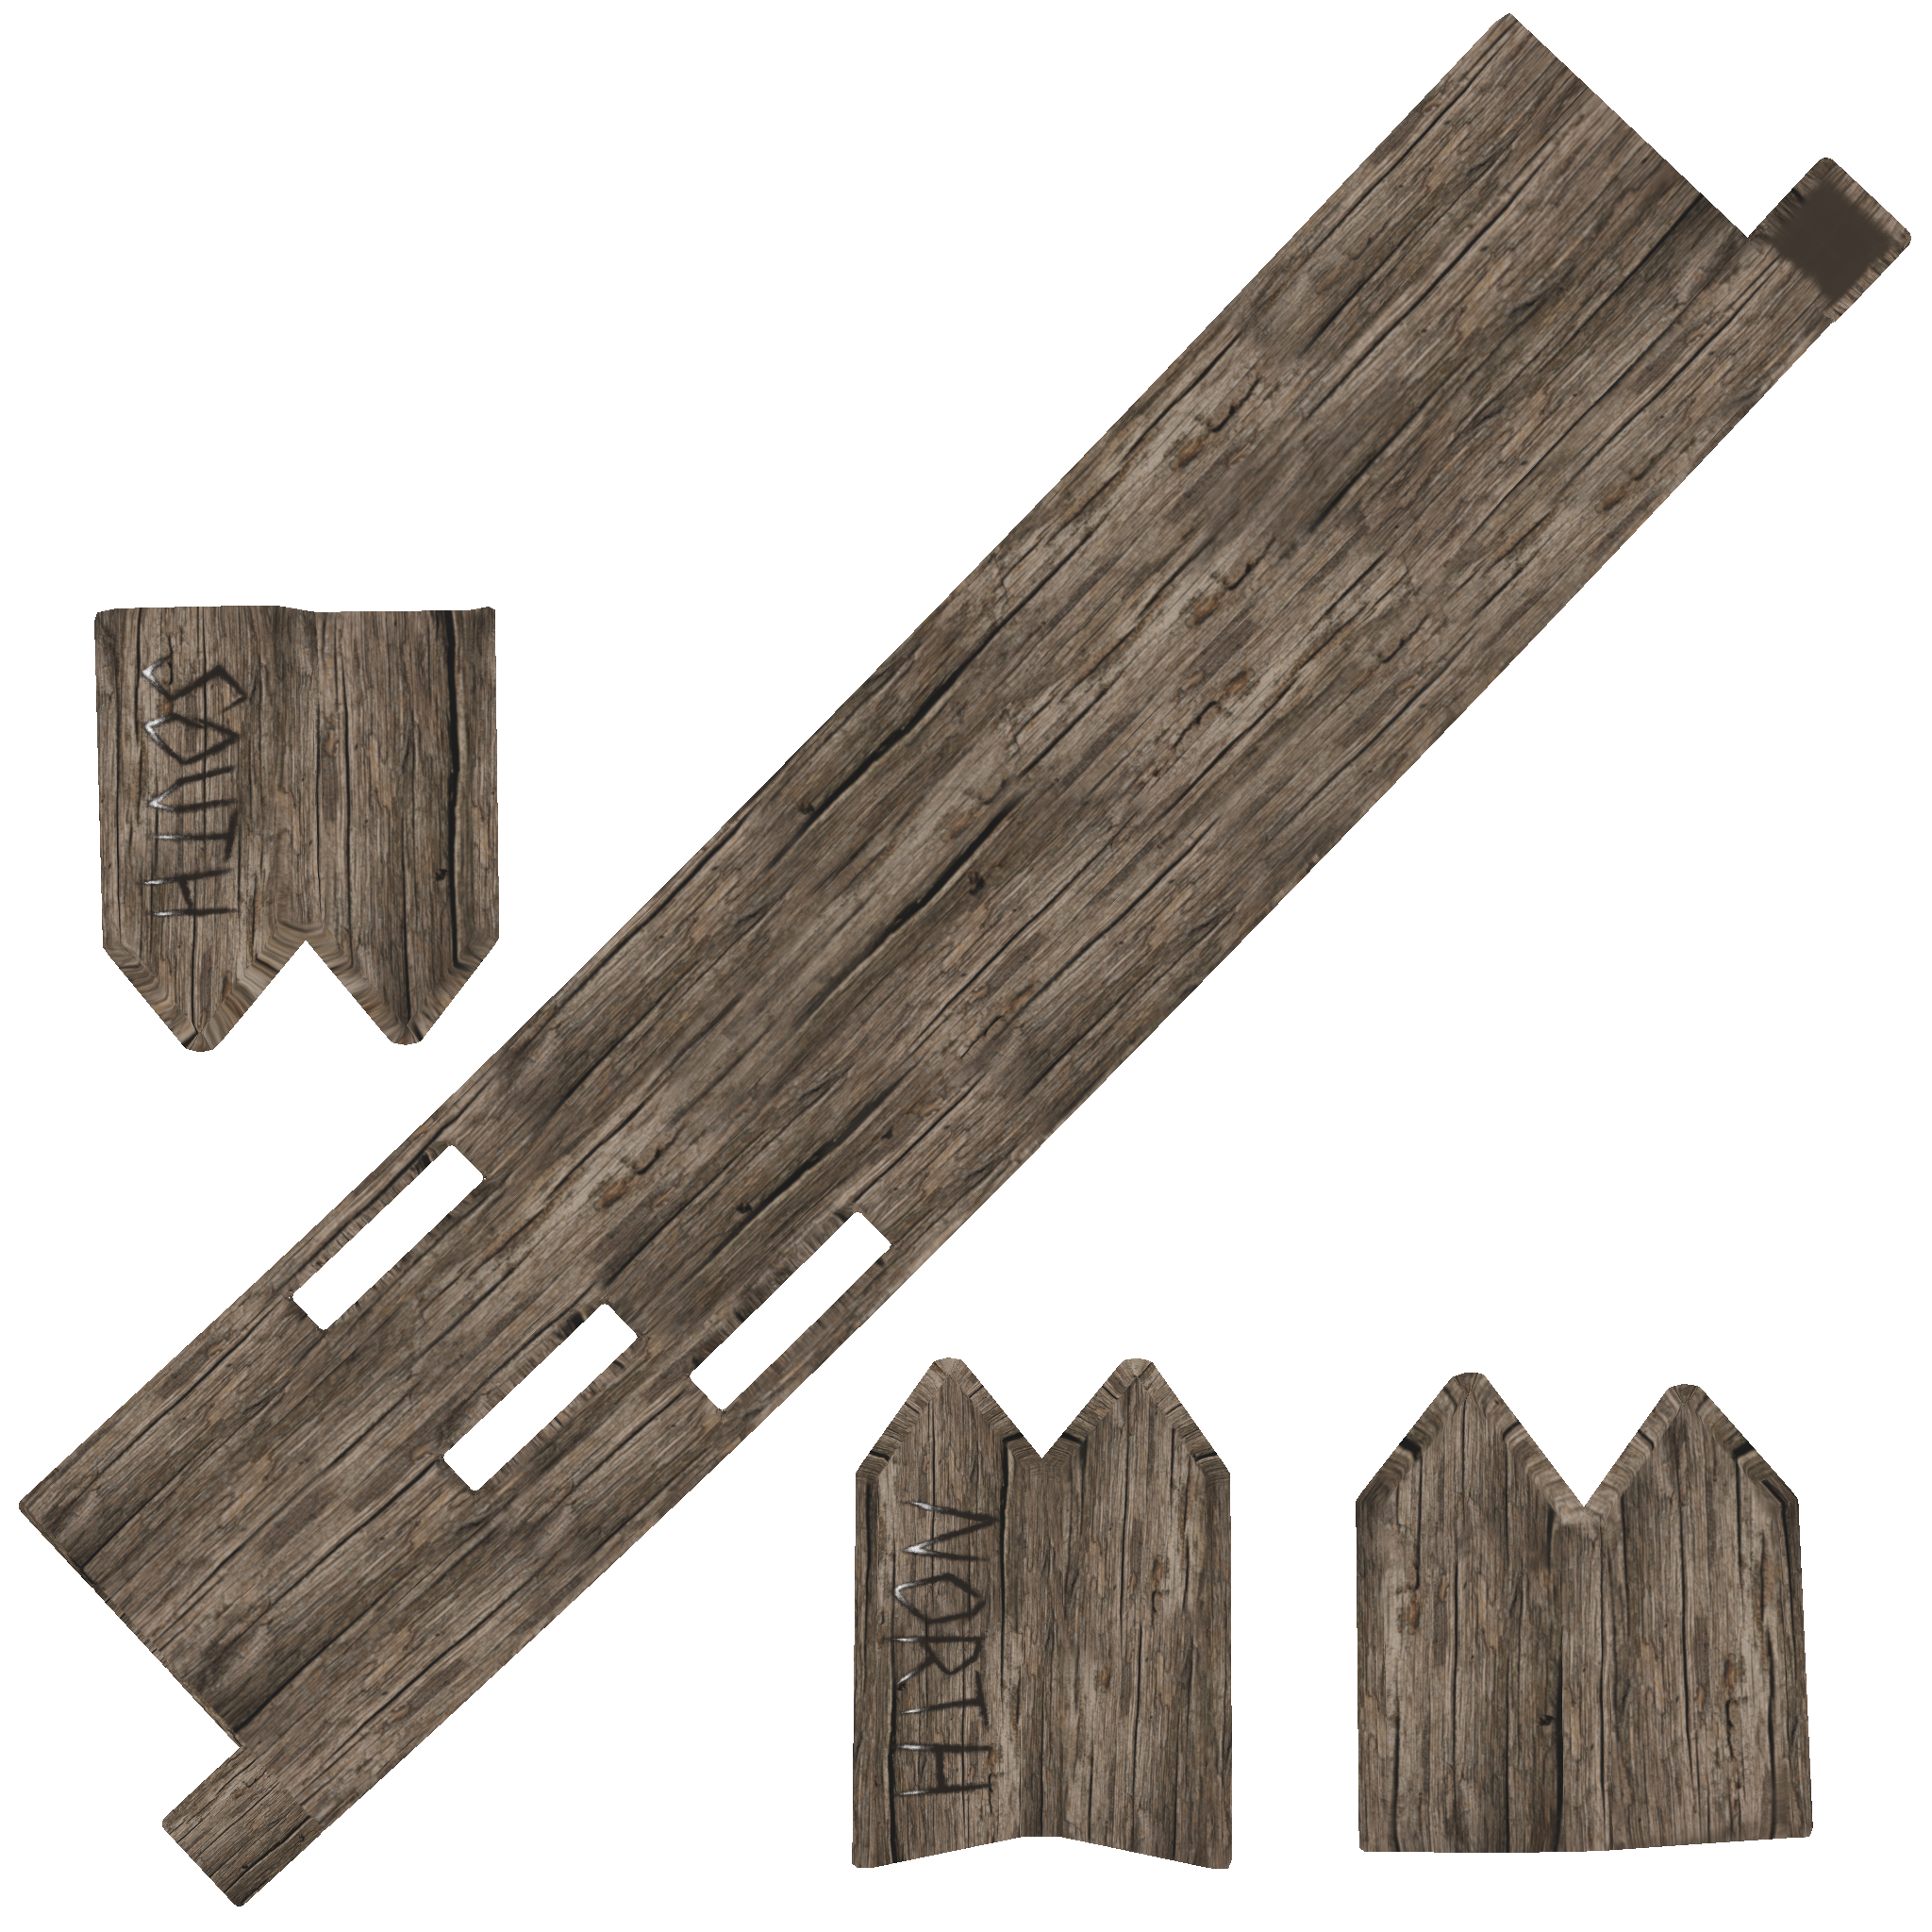
Getting the robot finished was priority, as he would be seen in virtually every shot, but once he was out of the way I had the more minor texturing jobs of the cabin and the wooden sign, both of which would only feature on-screen for a few seconds. As you can see in the texture maps below, the areas that would not be seen in shot, I didn’t waste time texturing. Time was of the essence!

cabin2
Final cabin sculpt and textures

cabin_DIFF     sign_DIFF

A challenging issue we faced with the textures, which concerned me in particular, was getting them to look as good as they did in Mudbox when assigned to the models in Maya. I had spent a long time getting them to look good in Mudbox, but it seemed they weren’t looking half as good in the Maya scene. This was to be expected to some extent; the Mudbox viewport has optimal lighting conditions, whereas the lighting in our scenes was very different. However with the sculpts for example, certain details weren’t showing up, or were showing up in strange ways, so I really wanted to try and work on getting them to look their best so all my hard work wouldn’t go to waste! I spent a little playing around with different ways of exporting the sculpts with my director, Rachel, and we found vector displacement maps to be the most effective. After working her parameter-tweaking magic, Rachel got the sculpts and textures looking good in Maya, much to my relief!

Rachel's work on the trees
Rachel’s work on the trees
northernlightseffect
Ollie’s work on the Northern Lights effect

While I had been texturing, my colleagues had been busy working on the animation, environment and special effects. Seeing the first few finished animation sequences was really exciting – it was so cool seeing the robot come to life (probably because I’d spent so long staring at him being static haha). As the assets, animation and effects started to come together, it was then a team effort to get the final scenes ready for rendering as soon as possible, which in an education institute with limited machines and students in their hundreds all trying to render at the same time, was quite important! It was a fight to the death for computers. Pretty comical, everywhere you looked there were computers guarded with protective notes to the effect of ‘RENDERING – DO NOT TOUCH’.

976242_10152921783275501_568683603_o
A still from the final animation

I have to at this point give my sister a special mention, who did an amazing job of putting together an original instrumental piece of music for us last minute. Music had not been the top of our priorities in the final few weeks of production, as it was not something we would be assessed on, however we always knew we wanted the animation to have some form of audio to give it the proper finish. Initially we had planned to just source some fitting music or sound effects online, but then I had the lightbulb thought ‘Oh yeah.. my sister studies Music’. I don’t know how I didn’t think of it before! It was great collaborating with her and we were all really impressed with how quickly she fixed up a lovely little fitting piece to complete the animation! You can check out her work here: https://soundcloud.com/lunayru

To round this post up, the Major Project was a long old journey, but it actually wasn’t as stressful and crazy as I thought it would be. I guess that comes down to my colleagues who were a pleasure to work with, the helpful lecturers who were there to offer support and advice every step of the way, and the relaxed, friendly and all round awesome working environment at the NCCA. It was an absolute joy and I was thoroughly pleased with the outcome. 😀

And this is what happened after submission..
And this was me after hand in..

Innovations Project

Phew, another project handed in. Can’t believe how quickly this year has gone already, now I just have Major Project, a small compositing assignment and my exam to revise for!

The point of this project was to explore, experiment and innovate in a specific field of computer animation. I chose to create a digital artefact that embodied the formal qualities of a Tamara de Lempicka painting (which in less fancy terms just means make something in 3D in the style of Lempicka :P).

Photorealism has been the main driving force behind CGI for years now, and with my largely traditional artistic background, I felt like I wanted to break away from photorealism and use CGI in a more artistic, stylized way. And who better to study than my favourite artist who I’ve revisited time and time again in my art studies, only all the other times I’ve been using the traditional medium of painting.

I love Lempicka’s style for a number of reasons: the bold colours, the high contrast shadows and clean-cut, angular forms, the immaculate smooth blending of paint with not so much as a hint of a brush stroke, and the captivating subject matter – sexy, bedroom-eyed women in luxurious dresses.

On the left, “Young Lady in Gloves”, 1930, Tamara de Lempicka. On the right, my A-level Art final piece.

"Young Lady with Gloves", 1929, Tamara de Lempicka     My original painting in the style of Lempicka

(please refrain from laughing at my slightly robotic, monotone voice!)

I’m pretty pleased with how this project turned out. The end piece was a little bit dodgy in terms texturing and rendering. The face texture wasn’t great due to the roughly modelled mesh causing texture stretching and the automatically unwrapped UVs causing small problematic areas that wouldn’t texture properly. Also, there is a slight flickering on the models at the seams of the UV texture maps in the final render. That said, these minor problems aren’t overly noticeable in the finished piece, so on the whole, I think the piece has a strong resemblance to the original painting and I think I achieved what I set out to do!

Major Project: Robot design

As Art Director, I was responsible for the character design of the Robot. I tried out a few different head shapes and features, but we came to the decision that we wanted our robot to be heavily influenced by the Iron Giant, complete with an austere look and blocky, hinged jaw.

When designing the rest of his body, it was important for me to consider the context of the robot’s creation; it had to be clear from the design that this robot had been roughly put together with whatever scraps of metal this lonely old man could get his hands on, and for this reason we went with simple cylindrical style arms and legs. We were initially going to have ball and socket joints, but decided on hinge joints after our Director pointed out that ball and socket joints are usually biological and wouldn’t theorectically work in a steamwork robot – or not the crudely built, not-so-cutting-edge kind of one that we were going for!

Rachel also around the same time found a cool robot rigging tutorial whereby a standard rig drives an additional underneath rig which rotates the individual hinge parts in a realistic and mechically correct way that would be seen in a real-life, physical hinge joint (See video here: http://youtu.be/KkWEt_fRlxo). So began the designing of technically possible joints for our robot! During this I had to bear in mind that the robot would need every rotation in his joints that a human does, which was a challenge when it came to the hip joint where we would need rotation in all three x, y and z axis.

And voilà, our final robot design:

robot_model_sheet

Major Project: ‘North’

The Major Project is arguably the most important project I have this year. For mine, I’m working with three of my coursemates to produce a short, visually strong character animation about the Northern Lights. We’ve been working on it since October so we’re well into production now, but I’ll try and give a bit of an introduction as to what it’s about, and show where we’ve got to so far through a series of posts.

Our animation follows the journey of a steamwork robot whose mission it is to climb to the top of the mountain in order to release the Northern Lights into the sky. He is the invention of a lonely old man who lives in an isolated cabin amongst the snowy mountain range, and whom we are to believe has also created the beautiful phenomenon that is the Northern Lights. During his journey, the robot must battle through ferocious, high-speed winds and stormy blizzards, until he reaches the peak of the mountain and fulfils the task he was built for.

The team is as follows:

Rachel Laura Cooke – Director, Rigger, Lighting, Rendering
Lucy Ashfield (me) – Art Director, Cinematographer, Texture Artist
Alex Mortimer – Character Modeller, Animator
Ollie Walter – Environment Modeller, VFX Artist

Here is an early storyboard I did:

storyboardneat

Master Class: Revised design

After a bit of making a fool of myself by posing with a broom and research into fantasy/medieval armour, I came up with this..

revised_model_sheet

This project is all done and handed in now; modelling her was quite a challenge! It’s safe to say I was a bit over-ambitious with the design considering my modelling skills and the time I had left. I had to alter the design slightly where I had problems, but on the whole it turned out alright! I’ll post some pics once I get a nice render 🙂

Master Class: Initial design

Time for a real post! So the most pressing of my projects at the moment is the Master Class one, in the sense that the deadline is fast approaching and I need to get a wriggle on with it!

The idea for this project is that we devote 100 hours of work, the equivalent of two working weeks in industry, to complete a task set by industry practitioners – I guess to simulate how it would be in a real working environment.

Before Christmas we were lucky enough to be visited by the likes of Double Negative, Sony Games Cambridge, EA Criterion Games and many more, each of whom set a brief specialising in a specific area of computer animation. I chose the Character Project from Sony Games Cambridge.

I present to you (for lack of a better name) ‘Warrior Woman’. Yeah hopefully she’ll have a more interesting name but for now I’m concentrating on the design 😛

LucyAshfield_Sony_Character_Ref

initial_model_sheet

This was the initial model sheet I did for my interim submission. I’ve since had a meeting with a guy from Sony who gave me some useful tips for improving her design and pushing her character. While they liked her asymmetrical hair, they advised me to consider the following for my final submission:

–         Push the pose. Her pose could be much more dynamic and convey her character better, much like those seen in the reference board where the women ooze confidence and experience, casually holding their lethal weapon like it’s nothing.

–         Develop costume design. This is something I was going to do anyway, she’s definitely in need of some fancy ass armour to pass her off as the badass warrior she’s supposed to be! I’ll look at armour and clothing reference to see how various materials look and hang.

–         Use anatomical reference for sculpting muscle structure of exposed parts. An important point indeed for a character designed to be drooled over and/or envious of! She has many an exposed part 😉

–         Beef up her weapon. Pretty self-explanatory, definitely doesn’t look as though her current poxy little staff could deal much damage!